Genuine Fractals 6 Review
Review Date: January 20th 2009
Author: Jon Canfield
Leave a comment about this Review
Introduction
Image resizing is one of those topics that generates controversy. Not on the Canon versus Nikon level perhaps, but it seems that almost everyone has a strong opinion on how it should be done. Well, I'm one of those people with an opinion, but I'm also fickle enough to change my mind when something better comes along.
If you're only resizing images about 200% or so, Adobe Photoshop's own algorithms work just fine. Simply choose Image > Image Size and enter your new dimensions. Bicubic is a good overall choice, while Bicubic Smoother is good for enlarging and Bicubic Sharper for reducing image size. If you're going larger, it's time to consider a plug-in, and you have a wealth of choices available to you. To be honest, they all do a good job, but when it comes to our images, good is seldom good enough � we want the best and nothing less.
Over the years, I've used Fred Miranda's Resize actions, Photozoom Pro, Blow-up, and Genuine Fractals. I always shied away from the early versions of Genuine Fractals though because I didn't want to deal with a proprietary file format and the hassles that involved. Newer versions though have eliminated the need to save as a .STN file. Sure, it greatly reduces the size of the scaled image, but it's one more step in my workflow, and I have enough of those. Besides, it wasn't particularly fast at saving files, and I get impatient. When Genuine Fractals 5 came around, I changed my mind about the usefulness of this program. I still preferred the results from Alien Skin's Blow-up, but Genuine Fractals was greatly improved, and now a viable option if I was looking for a new program.
I recently had the opportunity to test out the latest release of Genuine Fractals - Genuine Fractals Professional 6 (Figure 1) from OnOne Software.
Ease of Use
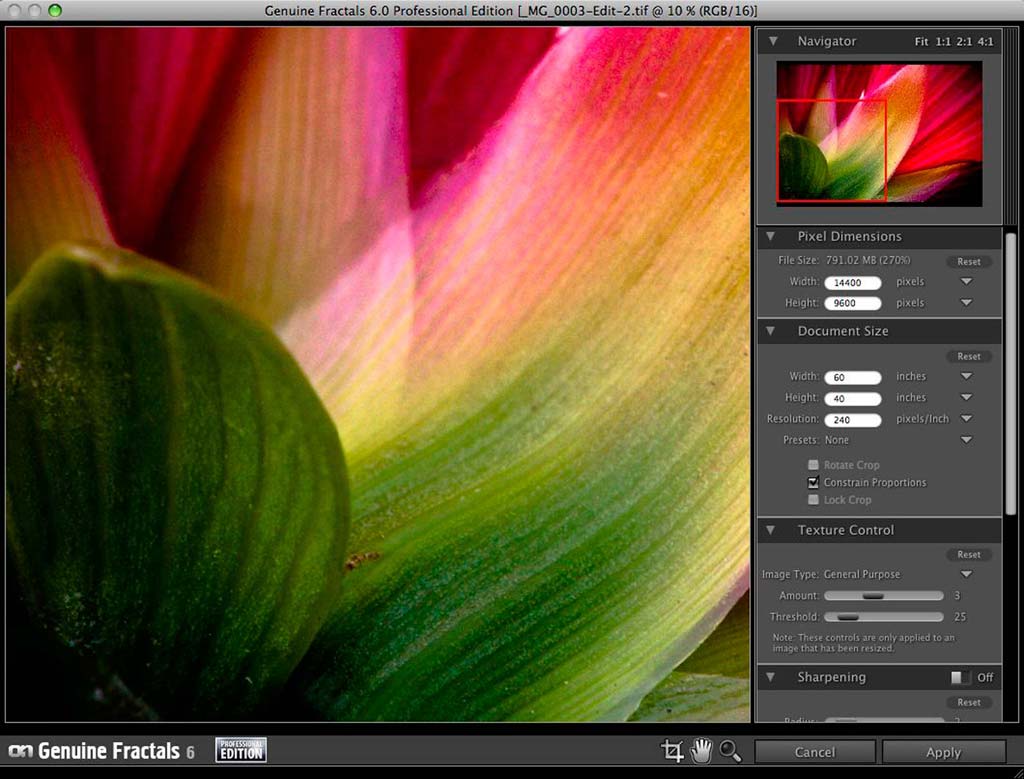
Figure 1
If you've used any of the OnOne products, like PhotoTools, the new PhotoFrame 4, or Focal Point, you'll feel right at home with Genuine Fractals 6 as it uses the same general user interface design and color scheme. A large preview area takes up the bulk of the plug-in, and all controls are along the right side of the window. The Navigator view has presets for scaling the preview, or you can use the Zoom tool in the lower right corner to zoom in to a level you want for your work.
The main controls are broken into several groups, each of which can be collapsed to save space if you're not using them. Genuine Fractals 6 lets you size your image by either Pixel Dimensions or Document Size. When using Document Size, you can choose from several presets (Figure 2) for different types of output, including standard film and paper sizes. The plug-in also allows you to create your own custom preset sizes.

Figure 2
The next group of controls are for Texture (Figure 3). Texture is used to optimize the resizing based on the type of image you're resizing, with presets for portrait, landscape, and others.

Figure 3
Genuine Fractals 6 also includes Sharpening and Film Grain controls. While I would normally use Photoshop for my sharpening, I actually prefer the results in Genuine Fractals. Part of this is the larger preview area, letting me see the effect on the entire image with less work than I can in Photoshop, and part of it comes using the luminance information to produce what appears to be a slightly better sharpening algorithm that is less prone to halos and artifacts.
Along with a speed improvement, the resizing is better than ever. I commonly use Genuine Fractals to produce 40x60 prints from a 15MP camera. Using the Tiling feature, I've gone as large as 120x160 with very good results. Along with resizing, Genuine Fractals gives you control over how texture is applied to the resized image, whether to add film grain, and sharpening your image (Figure 4).
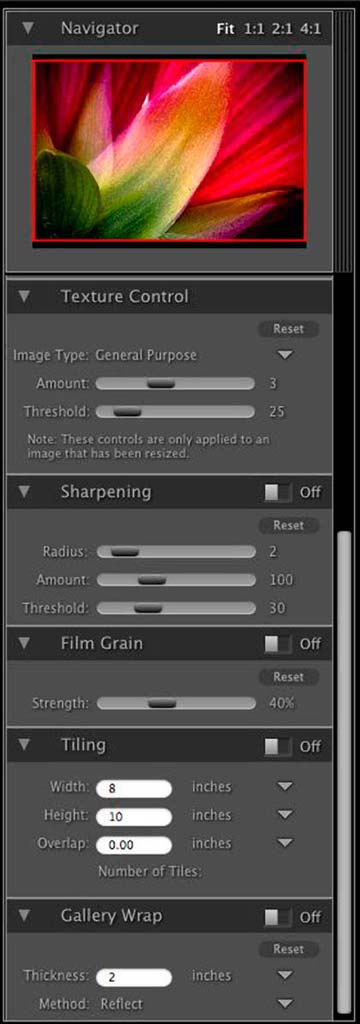
Figure 4
Not everyone is blessed with a large format printer, so resizing can be an issue � what do you print your poster on if all you have is a letter, or even 13" printer? With the new Tiling feature, you can select the size of each tile and let Genuine Fractals 6 determine how many tiles you'll need (Figure 5).

Figure 5
New to the Professional version is a Gallery Wrap feature that will automatically add the extra area to your image for creating a wrap around canvas print (Figure 6). The Gallery Wrap option gives you several methods of creating the new print area, so you can use the one that works best with the type of image you're printing. I find that Soft Stretch works best for most of my prints.
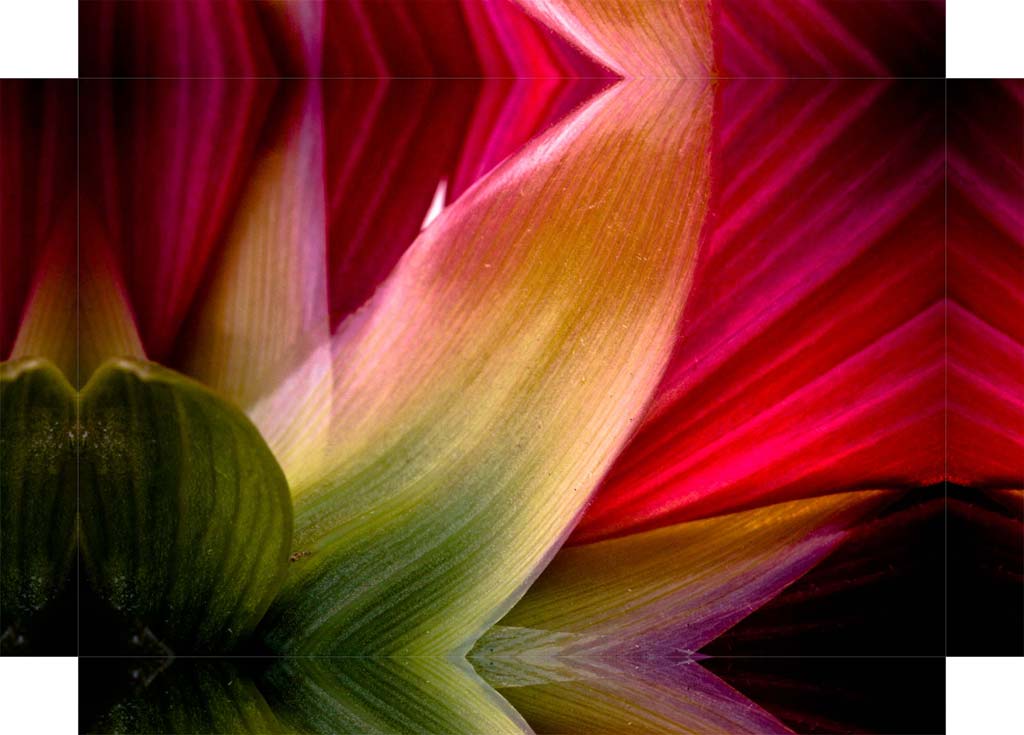
Figure 6
Both versions of Genuine Fractals 6 work with 16 bit files and in RGB and LAB modes. You can also work with layered Photoshop files. The Professional version adds support for CMYK images.
Genuine Fractals also has a Batch mode to process entire folders of images including multiple output types, embedding watermarks, and assigning profiles (Figure 7), which is sure to appeal to anyone doing a number of images at one time (I use this feature frequently when creating images for my publisher). The Professional version also includes a plug-in for Apple Aperture, and integrates with Adobe Lightroom.
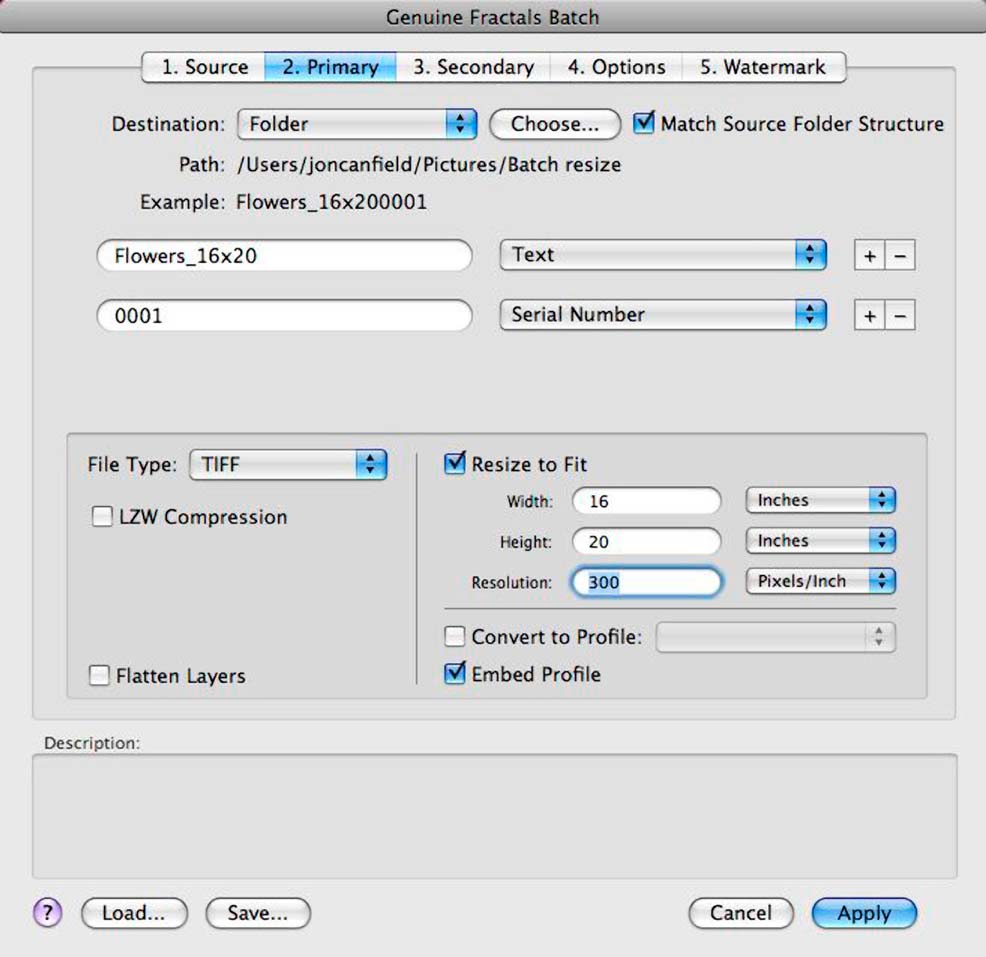
Figure 7
Conclusion
| |
|
|
Ratings (out of 5) |
|
| Features | 5 |
| Ease-of-Use | 4.5 |
| Value for Money | 4 |
Genuine Fractals Professional 6 is now the standard that I base all other resizing tools against. The performance is very good, and more importantly, the results are outstanding. OnOne Software has done a great job with this upgrade, making it a worthwhile purchase for current or new users. The price isn't the lowest you'll find for this category of plug-in, but the results are second to none. Genuine Fractals Professional 6 is $299.95. A standard version, without the Gallery Wrap feature, Aperture or Lightroom plug-ins, and no CMYK support is $159.95.