Epson Stylus Photo R800
Review Date: 22nd July 2004
|
Ease of Use
Installing the Epson Stylus Photo R800 is very easy and after just 10 minutes I was ready to print out my first image. You just need to remove all of the tape that protects the various moving parts of the printer during storage/delivery, insert the ink cartridges, connect the power cable, connect the USB or Firewire cable, install the Epson software, then turn the printer on and print a nozzle check pattern.
The Epson Stylus Photo R800 is noticeably quicker than previous generations of Epson printers, as shown in the table below, which shows some timings for different print sizes and quality/resolution settings. The same source file was used for each print - a 4.8Mb JPEG of a performer at the London Pride Parade:
| Print Size / Resolution | Overall Time Taken |
| 6 x 4 inch / Photo | 44 seconds |
| 6 x 4 inch / Best Photo | 1 minute 16 seconds |
| 6 x 4 inch / Photo RPM | 2 minutes 5 seconds |
| A4 / Photo RPM | 7 minutes 4 seconds |
| Epson Stylus Photo 950 (comparison test) | |
| 6 x 4 inch / 720 dpi | 1 minute 13 seconds |
| 6 x 4 inch / 1440 dpi | 2 minutes 23 seconds |
| 6 x 4 inch / 2880 dpi | 3 minute 58 seconds |
| A4 / 2880 dpi | 9 minutes 26 seconds |
| Epson Stylus Photo 890 (comparison test) | |
| A4 / 2880 dpi | 26 minutes 7 seconds |
It is still quite slow compared to Epson's main competitors, however, so if you require a speedier printer then you should take a look at Canon's Bubblejet range - Canon printers are still generally accepted to be the quickest available at the current time.
The Epson Stylus Photo R800 takes about 20 seconds from turning the printer on to being ready to print. When it's ready the Power button lights yellow. If you quickly turn the printer on and off, the long start-up time is avoided; it only occurs when you haven't used the printer for a while.
I had no problems with my PC recognising the Epson Stylus Photo R800, using the Windows XP operating system. Throughout this review the Epson Stylus Photo R800 and Stylus Photo 2100 happily co-existed, and I could choose to print to either device without any conflicts. Both were connected via the USB interface.
Epson supply a variety of software that is automatically installed as part of the setup process. Epson PhotoQuicker 3.5 is quite an advanced program that makes printing multiple photos onto different paper sizes easy. It is pretty slow, however, when used with large file sizes. Epson Print CD is a very rudimentary application that allows you to design CD face layouts; I took an instant dislike to its cluttered interface.
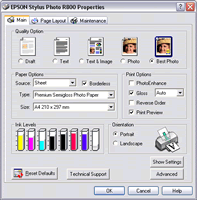
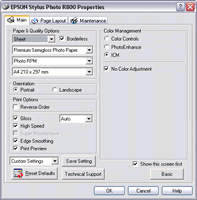
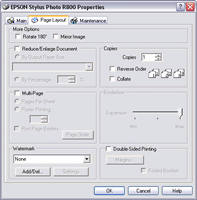
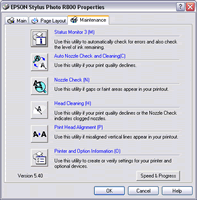
The main software is the printer driver software, which is largely the same as previous Epson printers. The Main tab has been changed - you can now choose either a Basic or Advanced version (I just left it as Advanced). Otherwise you will be familiar with the main options if you have used an Epson printer before. One of the main new options is the innocuous sounding Gloss, which allows you to control the Gloss Optimiser technology. It can be set to either Auto or Full, or you can turn it off completely in Advanced mode. Auto allows the printer to control where the gloss is applied to the print, so I always chose Full, which applies the gloss finish to the entire print, giving in my view a more uniform appearance.
Click on the thumbnail to open a larger version in a new browser window:
| Printer Driver Screens |
 |
| Main tab - Basic |
 |
| Main tab - Advanced |
 |
| Page Layout tab |
 |
| Maintenance tab |
The roll paper holder that is supplied with the Epson Stylus Photo R800 is at first very fiddly and difficult to install, until you manage to do it successfully and then realise how straight-forward it actually is! Similarly loading the roll paper itself takes a few attempts to get right. Annoyingly Epson have chosen not to supply an automatic paper cutter, which means that you will have buy a separate paper trimmer to cut your prints to size.
Overall the Epson Stylus Photo R800 was extremely easy to use and didn't suffer from any problems throughout the 4 week duration of this review. The roll paper is very difficult to make flat once you've printed out your photos on it, and it's a shame that Epson have not supplied an automatic paper cutter, but otherwise the printer is very well built and all of the features work well.
|
