Sony A100 Review
Review Date: September 18th 2006
Author: Gavin Stoker
Leave a comment about this Review
|
Design
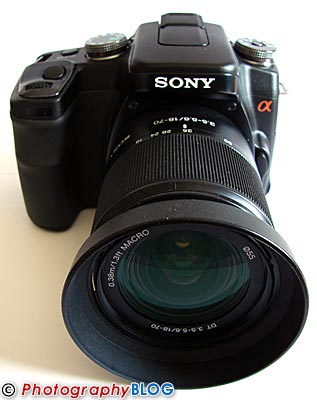 |
Front of the Camera / Turned Off |
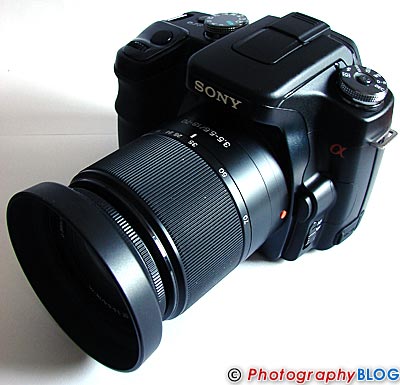 |
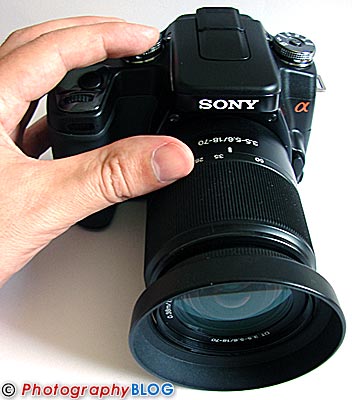
Isometric View |
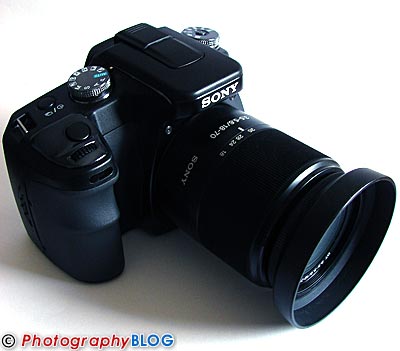 |
Isometric View |
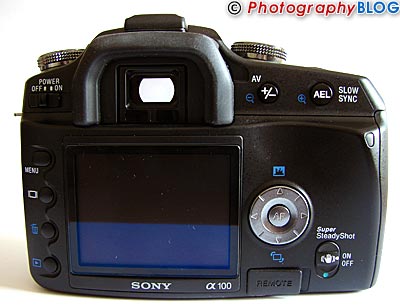 |
Rear of the Camera / Turned Off |
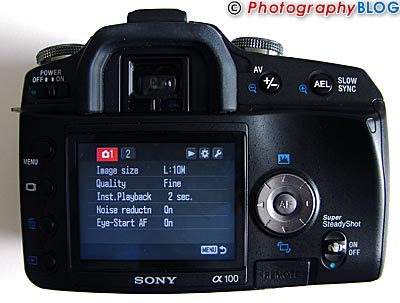 |
Rear of the Camera / Turned On/ Menu Displayed |
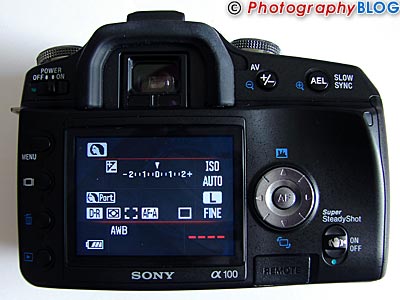 |
Rear of the Camera / Turned On/ Menu Displayed |
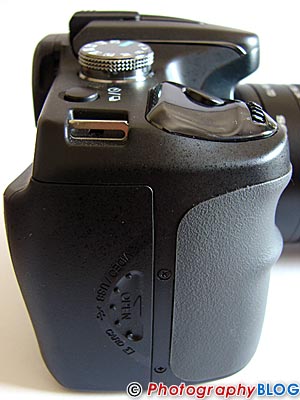 |
Side of the Camera |
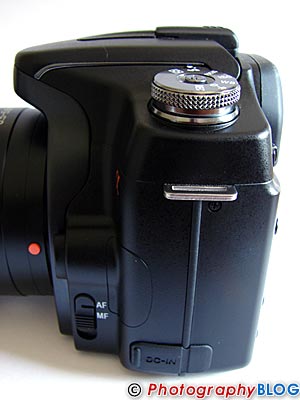 |
Side of the Camera |
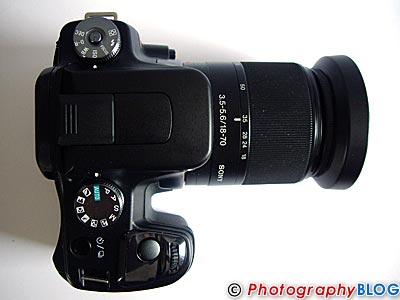 |
Top of the Camera |
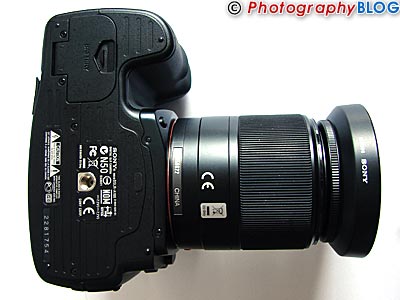 |
Bottom of the Camera |
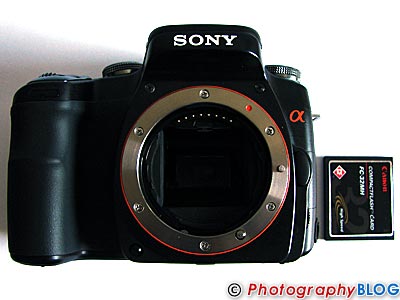 |
Front of the Camera |
 |
Front of the Camera |
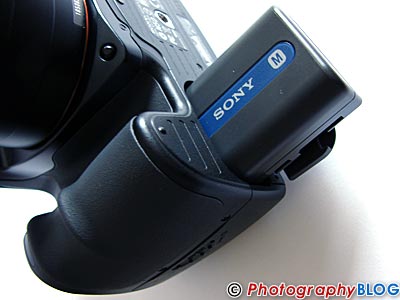 |
Battery Compartment |
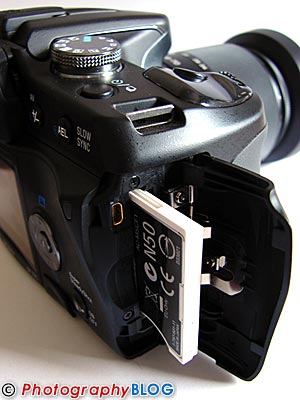 |
Memory Card Slot |
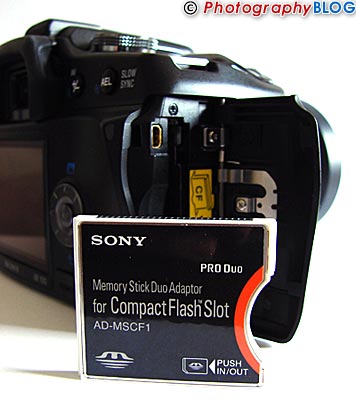 |
Memory Card Slot |
|
![]() PhotographyBLOG
is a member of the DIWA
organisation. Our test results for the Sony A100 have been
submitted to DIWA
for comparison with test results for different samples of
the same camera model supplied by other DIWA
member sites.
PhotographyBLOG
is a member of the DIWA
organisation. Our test results for the Sony A100 have been
submitted to DIWA
for comparison with test results for different samples of
the same camera model supplied by other DIWA
member sites.